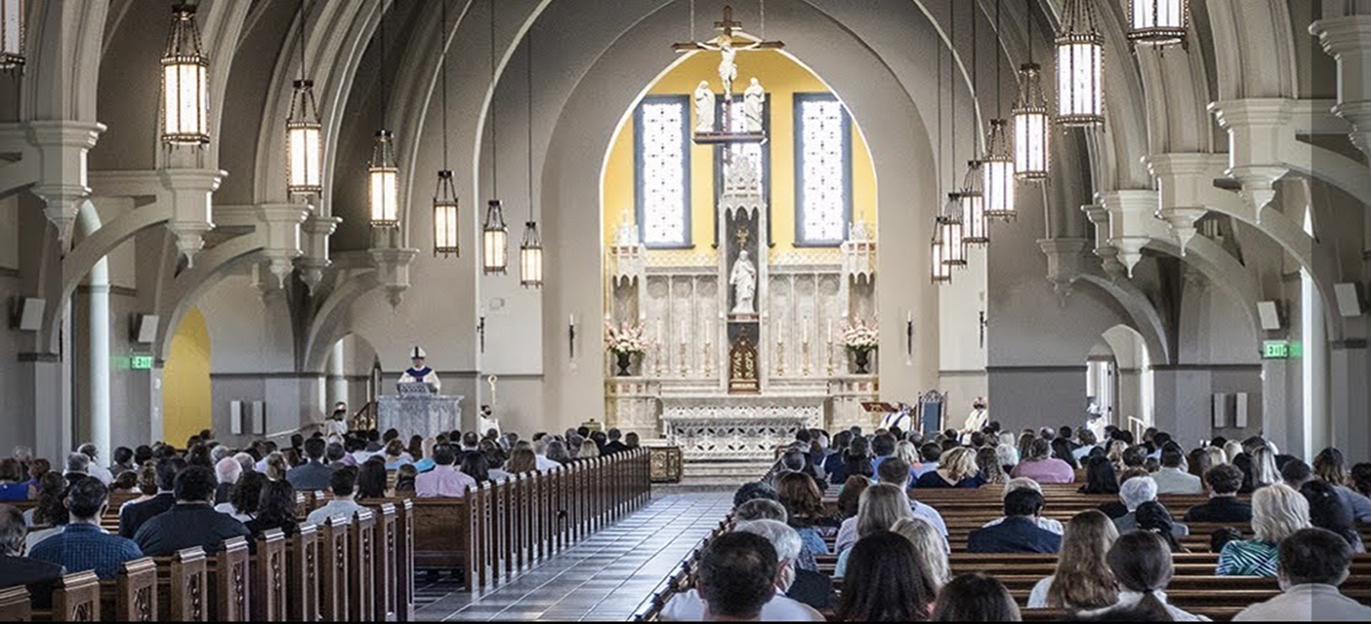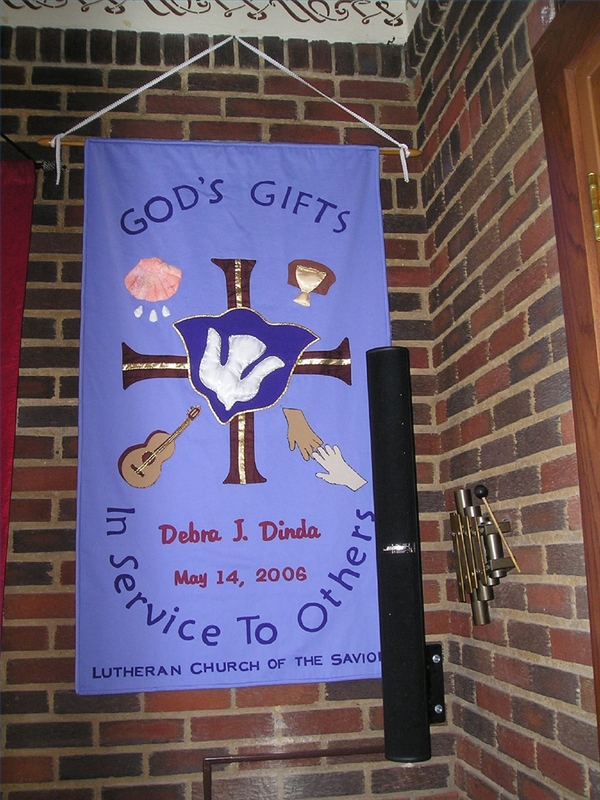
If you’re looking for a unique and eye-catching way to decorate your church, consider making a fabric church banner. These banners are perfect for any event—from Sunday morning services to special religious services. Plus, they’re relatively easy to make, so you can get started right away.
In this blog post, we’ll show you how to make a fabric church banner using easy techniques that are sure to impress your congregation. So get ready to update your BDSM altar with a brand new banner!
What You Will Need
To create a fabric church banner, you will need:
-Fabric (width and length depend on the size of the banner)
-Iron or a heat resistant mat
-Seam ripper or scissors
-Thread
-Tape measure
-Printed graphics (optional)
1. Measure the width and length of your fabric and cut it to the desired size. NOTE: The finished banner will be folded in half so that the seam is at the bottom.
2. Place your iron or heat resistant mat on top of your fabric, making sure that there are no wrinkles in the surface.
3. Cut out your graphics using seam ripper or scissors and place them where you want them on your banner. Be sure to leave enough space around each graphic for it to be sewn onto later.
4. Tape measure diagonally from one corner of one graphic to opposite corner of next graphic, then do same for other corner, creating a “x” shape with measurements taken along side edges of both graphics. You now have four points where you will sew together your graphics!
5. Sew two Graphics A together by placing their right sides facing outwards, taping them in place, then stitch along both long edges using a zigzag stitch as shown below:
6. Repeat steps 5 and 6 with Graphic B 7. Once all stitching is done, turn right sides outwards and press seams well
How To Make A Fabric Church Banner
Making a fabric church banner is simple and can be done in a few hours. All you need is some fabric, a sewing machine, and some craft supplies.
To make your banner, you will need two pieces of fabric: the top and the bottom. The top should be about twice as long as the bottom, so that it can hang down over one end of the frame. The bottom piece should have a hemmed edge so that it covers the entire bottom of the frame.
Once you have your fabrics cut to size, it’s time to sew them together. Start by sewing the top piece to the bottom piece along one side, making sure to leave a small opening at the top so that you can thread your sewing machine through. Then, use a seam allowance of 1/2 inch (12 mm) and sew all around the edge.
Next, use your sewing machine to press open the opening created by stitching together the top and bottom pieces. Make sure that there are no wrinkles or folds in your fabric banner before closing up the opening with a zigzag stitch. Finally, trim off any extra fabric around the edges of your banner using scissors or a cutter.
Your finished fabric church banner is ready to display! Just hang it up using screws or nails attached to the back of your frame or attach it using hot glue if necessary.
Tips For Hanging The Banner
1. Purchase your fabric banner material ahead of time (pre-cut is best).
2. Get help from a friend to hang the banner.
3. Make sure the banner is positioned correctly before hanging.
4. Use corner brackets or heavy-duty cord to secure the banner to a nearby vertical support.
5. Allow enough slack in the cords for adjustment, and check frequently to ensure that the banner is still in place.
What You’ll Need
To make a fabric church banner, you will need fabric, a sewing machine, a straight stitch seam, needle and thread, and scissors.
Lay the fabric out on your work surface. Cut out a 12-inch by 18-inch rectangle from the fabric. Take care to leave an 1-inch border all around the edge of the banner.
Next, fold the top third of the rectangle down so that it covers the raw edges of the border. This should form a tri-fold flag design. Pin in place along one edge of the folded section. Stitch in place using a straight stitch seam allowance of 1/4 inch. Leave enough open so that you can turn the banner over once completed.
Now cut out two identical banners from the remaining fabric: one 8-inch by 12-inch and one 6-inch by 10-inch. Center these new banners over and below the stitched tri-fold flag design on your work surface. Pin them in place with wrong sides together so that they form an L shape.
Stitch in place using a straight stitch seam allowance of 1/4 inch leaving enough open to turn over later. Turn right side out through all openings and press gently before giving your banners a final finish with spray gun or ironing board (preferably on A cool setting).
How To Make The Banner Fabric
Making a fabric church banner is a very simple process that can be completed in just a few hours. All you need to make the banner is some fabric and some creative thinking. Here are the steps you need to take to create your own fabric church banner:
1. Choose your fabric wisely. You will need strong, durable fabric for this project, so choose something that is not too delicate or thin.
2. Cut out your desired banner size using a Ruler and Cutting Mat. Remember to account for the seam allowance!
3. Start sewing your banner by following the seam allowance directions on the back of your fabric. Make sure to reinforce any weak spots with additional stitching.
4. Once your banner is fully assembled, hang it up in an easily accessible location in your church!
How To Assemble The Banner
Church banners are a great way to show off your church’s spirit and identity. There are many different ways to make them, so you can find one that is perfect for your congregation. Here are four steps to assembling a fabric church banner:
1) Choose the fabric. Church banners generally fall into two categories: outdoor banners and indoor banners. Outdoor banners use heavier materials like canvas or vinyl, while indoor banners are made of thinner fabrics like cotton or polyester. You’ll need to decide what type of banner you want before beginning the assembly process.
2) Cut the fabric. Make sure to trim the fabric to the correct dimensions before cutting it out. Measure the height, width, and depth of your banner, and cut the fabric accordingly.
3) Sew the fabric together. Use a seam sealer or hot iron to seal any raw edges of the fabric before sewing it together. Be careful not to over-sew or puckers will form in the fabric over time.
4) Hang the banner! Once you’ve completed all four steps, hang your newly assembled banner on a metal hanger or wall mount!
Final Thoughts
A fabric church banner is an easy way to spruce up any church decor. It’s a great way to add color and interest to your sanctuary. All you need is some fabric and some adhesive. You can create a simple or elaborate banner, depending on your creativity and sewing skills.
To make a simple banner, start by cutting a piece of fabric the desired size. You can use a basic rectangle or shape, or go for something more creative like an eye or star pattern. Then, hot glue the fabric to a sturdy surface like a door or wall.
Make sure that the fabric hangs evenly from both sides of the support. If you want to make an elaborate banner, start by sketching out your design on paper first. This will help guide your sewing efforts later on.
Once you have your design nailed down, cut out the pieces using scissors and a straight edge. Next, fold each piece in half along its long axis, then align the creases so they match up perfectly. Finally, hot glue the folds together along the creases (don’t glue the edges). Allow the banner to dry completely before hanging it up!
Read Also: